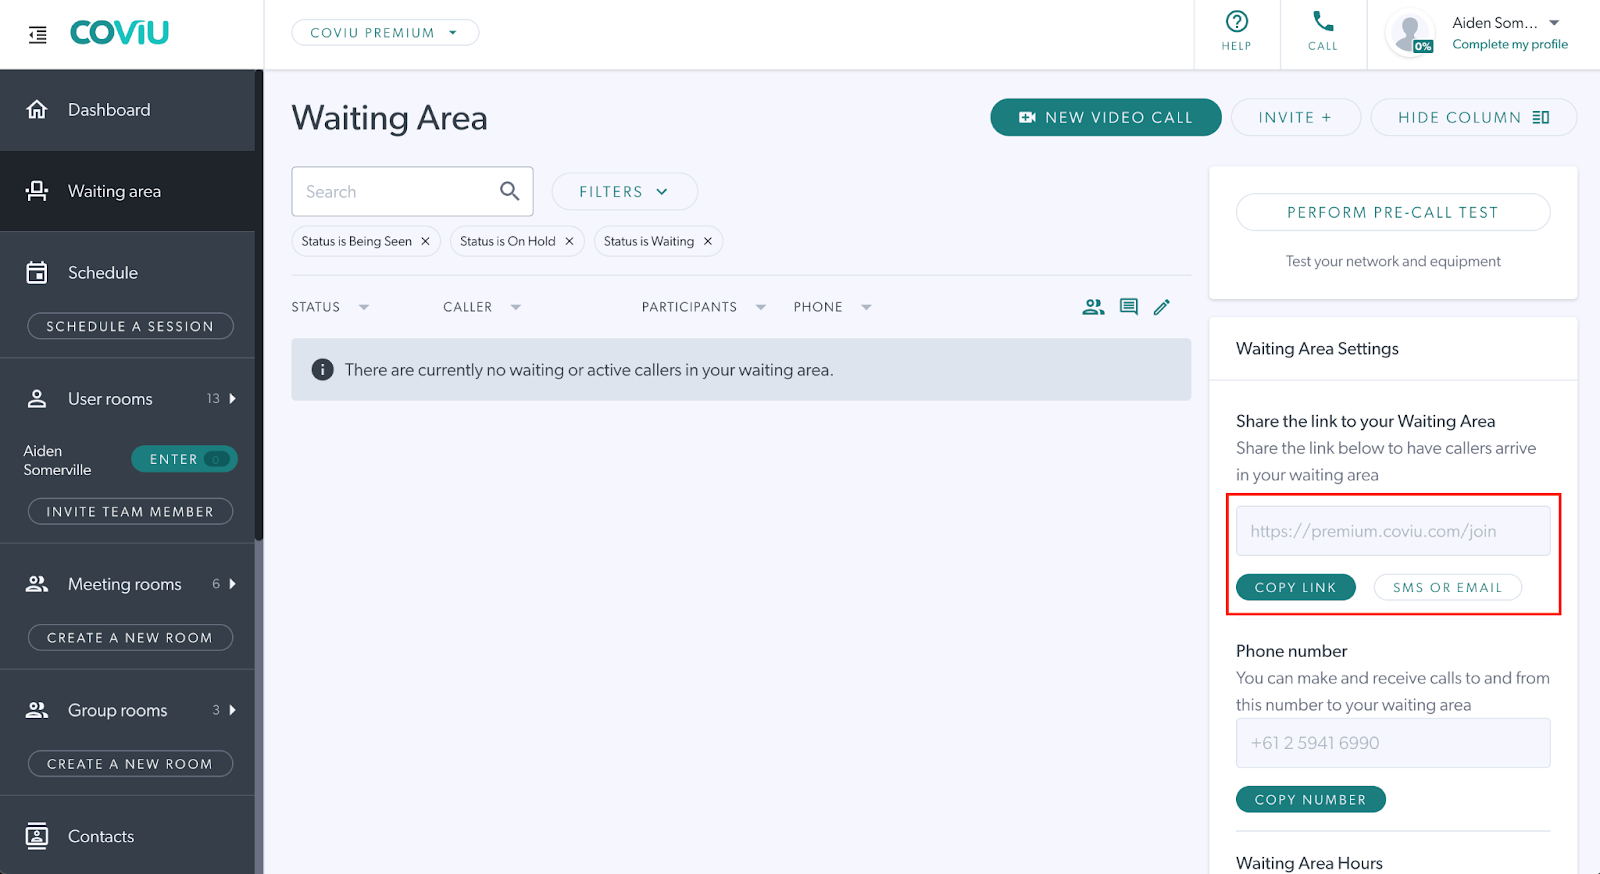
Step 1: Retrieve Your Coviu Waiting Area Link
Before setting up appointment confirmations in Cliniko, first retrieve your Coviu Waiting Area link.
This is the link your patients will use to join their telehealth appointments.
Step 2: Create a New Confirmation template
- Log in to Cliniko and go to Settings.
- Select Appointment confirmations.

- Click New confirmation template.

-
Enter the Template name, Email subject, and Email content.
-
Paste your Coviu Waiting Area link into the email content, as this is the link your patient will use to join the appointment.
-
Click Update confirmation template to save your changes.

Step 3: Link the Confirmation Template to an Appointment Type
Note: If you haven’t created a specific telehealth appointment type yet, click here for instructions.
1. Go back to Settings, then select Appointment types under Appointments.
2. Choose the appointment type you want to use for telehealth.
3. Under Booking confirmation email, select the newly created confirmation template that contains your Coviu link.

Once everything is set up, your confirmation email will be active and automatically sent to patients according to your booking settings.
More support options
You have completed another Coviu help article. You now know how to integrate Coviu and Cliniko.
If this is not what you were looking for, explore our knowledge base and search for another article from here.
If you still require any assistance, please do not hesitate to get in touch with our friendly Customer Success team using any of the contact methods available here.