Last Updated: June 2023
Note:
- The Waiting Area feature is available to customers who are on these plans only:
- Standard (also the Trial plan)
- Premium
- Enterprise
- Not sure what plan you are on? Click here to find out.
- If you are on a custom Enterprise plan, you can click here to find out how to get this feature set up.
- The Waiting Area feature is different from our Waiting Room. Click here to learn the difference.
- To configure the Waiting Area, you must be the account Owner or Administrator.
On this page:
- What are entry fields?
- How to configure your entry fields
- How to view your entry fields
- More support options
What are entry fields?
Coviu's customisable Waiting Area allows you to create your own intake form for clients or patients to fill out prior to entering a video call.
This is a great way to capture information from your client or patient before they enter the Waiting Area (e.g. their phone number, address or private health insurance details).
You can also manage information about your clients or patients in the Waiting Area queue, such as setting their classification or priority, assigning a host to them and more, via internal-only entry fields.
How to configure your entry fields
- Log in to your Coviu account as you normally would.
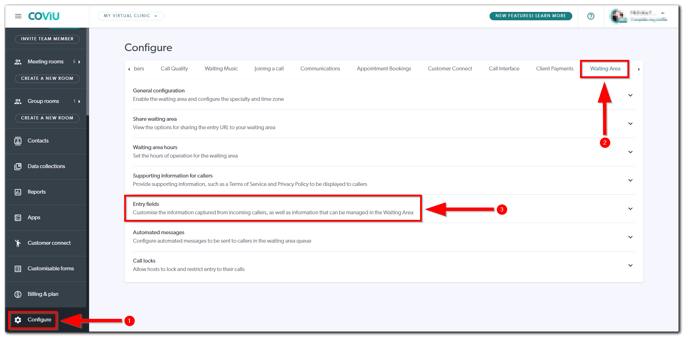
- Scroll down on the left side menu of the Dashboard and click Configure (if you can't see the Configure button, then you are not the account Administrator).
- Click the arrow button to the right of the tabs to find the Waiting Area tab. Click Waiting Area.
- Click Entry fields.
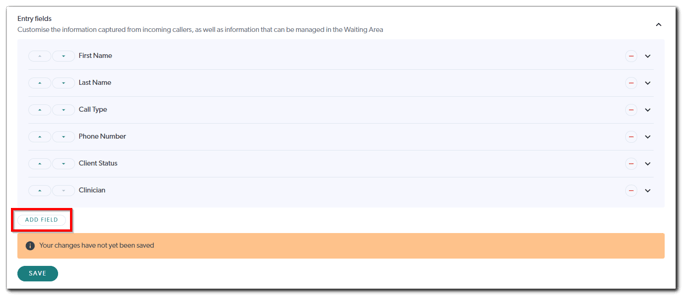
- First Name and Last Name will always be added as entry fields.
- Click Add Field to add your custom entry field.
- Under Field configuration, you can configure the following:
- Name: The entry field name as seen in the Waiting Area column view, call activity log and call details modal.
- Label: The entry field name that is displayed to the client or patient when they are joining the Waiting Area. If no Label is provided, the Name will be used.
- Type: The type of the entry field. You can choose from the following:
- Checkbox
- Dropdown
- This will also have associated colours that will be visible in the Waiting Area if selected. Available colours are red, orange, green, yellow, blue, purple, teal and grey. Click Add Option to add more dropdown items.
- Email Input
- Hidden Input
- Only useful if you have integrated a system with your Coviu account.
- Lookup
- This will allow the selection of a user in your account from a dropdown field.
- You can choose either the Team Members list or the Practitioners list. The Practitioners list is only visible if Customer Connect is installed.
- The Team Members list is a list of all users in your Coviu account (i.e. Administrators and Team Members).
- The Practitioners list is a list of all users who are set up as Practitioners in the Appointment Bookings configuration section.
- Number Input
- Phone Number
- Text
- Text Area
- Required: If enabled, your client or patient will not be able to enter the Waiting Area without supplying a value for the entry field.
-
Internal Use Only: If enabled, the entry field will not be available for your client or patient to populate when they join the Waiting Area. If disabled, the entry field will be available for your client or patient to populate when they join the Waiting Area.
-
Filterable: If enabled, the entry field can be filtered in the Waiting Area.
-
Editable: If enabled, Waiting Area users will be able to make changes to the entry field on behalf of your client or patient in the Waiting Area.
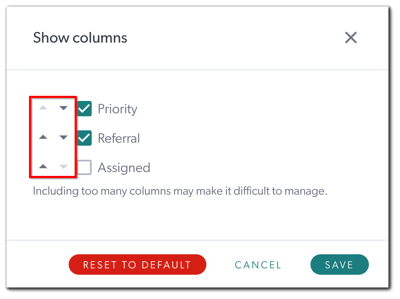
- Default column: If enabled, the entry field will be shown to Waiting Area users on default in the Waiting Area caller columns.
- You can sort the order of the entry fields (that will appear as columns in the Waiting Area) by clicking the arrow buttons to the left of the entry fields.
You can remove entry fields by clicking the minus button to the right of the entry field that you want to remove and edit entry fields by clicking the dropdown button to the right of the entry field that you want to edit.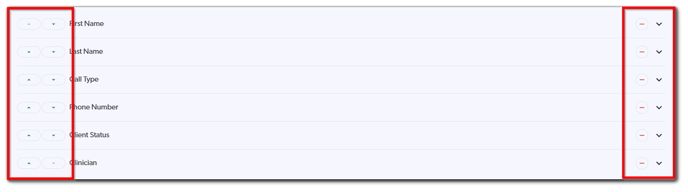
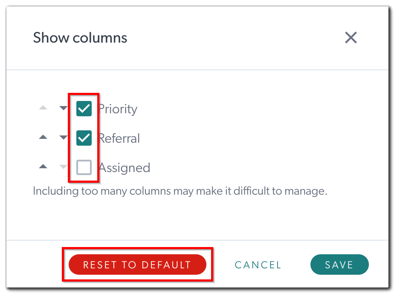
- A Waiting Area user can override the order with their personal choice of configuration when viewing the Waiting Area.
- A Waiting Area user can also override which columns are shown by default on the Waiting Area. Click Reset To Default to reset the columns back to their original settings.
- Simply repeat the steps above to add more custom entry fields. There is no limit to how many custom entry fields you can add to the Waiting Area.
- Click Save.
How to view your entry fields
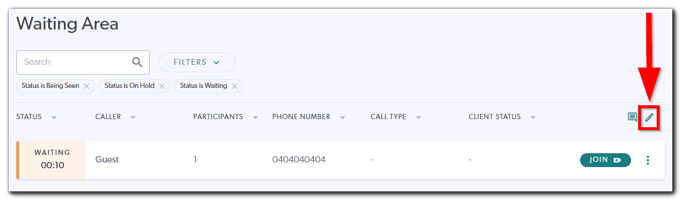
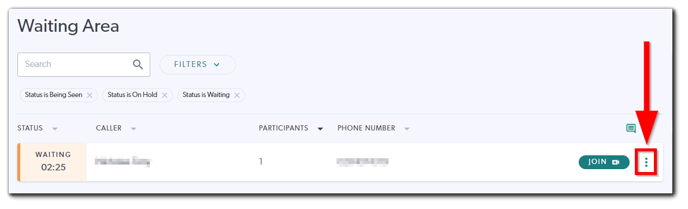
- The information gathered from the entry fields is visible to you while a client or patient is in the Waiting Area. Click the 3 dots button.
- Click Edit Details.
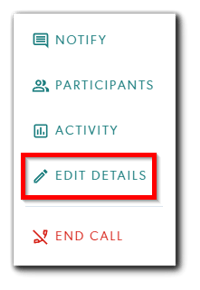
- The client's or patient's information is now displayed to you (to cross-reference with your bookings or data in your practice management system, perhaps).
Your editable, internal-only entry fields are also displayed here. You can edit them by selecting an option from the dropdown menu and they will be displayed in the Waiting Area (you may need to sort the entry fields as shown in Step 9 above).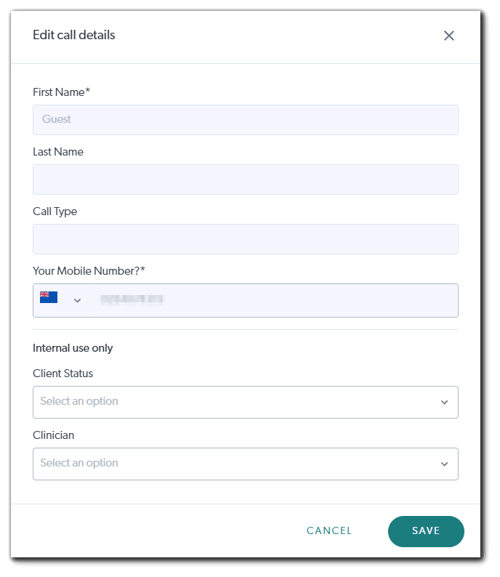
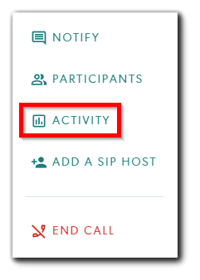
- Alternatively, click Activity.
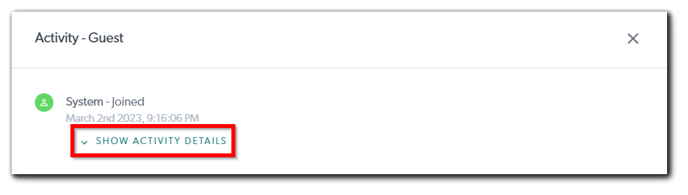
- Under the System - Joined activity, click Show Activity Details.
Note: This data is not stored in Coviu; it is simply displayed. Please copy and paste all relevant client or patient data, because the client or patient data will be discarded once the video call ends.
More support options
You have completed another Coviu help article. You now know how to configure entry fields for the Waiting Area.
If this is not what you were looking for, explore our knowledge base and search for another article from here.
If you still require any assistance, please do not hesitate to get in touch with our friendly Customer Success team using any of the contact methods available here.