Last Updated: November 2023
Note:
- The Waiting Area feature is available to customers who are on these plans only:
- Standard (also the Trial plan)
- Premium
- Enterprise
- Not sure what plan you are on? Click here to find out.
- If you are on a custom Enterprise plan, you can click here to find out how to get this feature set up.
- The Waiting Area feature is different from our Waiting Room. Click here to learn the difference.
Tip:
- Perform a quick and easy Precall Test via the Waiting Area if you have not done so already or if you faced a poor call experience.
On this page:
- Book appointments in your practice management software, as per usual
- The client or patient enters the Waiting Area at the appointment time
- The client or patient arrives in the Waiting Area
- Users receive SMS, desktop and/or email notifications upon client or patient entry
- Send notifications to clients or patients who are waiting
- Reception picks up the client or patient for triage, payment, intake forms, etc.
- Reception allows the client or patient to return to the Waiting Area
- The clinician or practitioner joins the call when ready
- The clinician or practitioner starts a group call with multiple clients or patients
- The clinician or practitioner can view the call activity log and device information
- More support options
Step 1: Book appointments in your practice management software, as per usual
You can take your appointment bookings whether it is via an online booking, phone or email and include them in your practice management software, as per usual.
Step 2: The client or patient enters the Waiting Area at the appointment time
This can be considered as a virtual 'front door', where callers like clients or patients can enter the clinic virtually and wait to be seen.
When configuring your Waiting Area, you will be presented with choices to share your Waiting Area link with your clients or patients via an email or SMS invitation, but also either using a link or button embedded on your website.
Note:
- Click here if you are looking to customise your Waiting Area operational hours.
Step 3: The client or patient arrives in the Waiting Area
Once the client or patient enters the Waiting Area, they will be marked as Waiting in your Waiting Area and you can message, triage and accept their calls from there.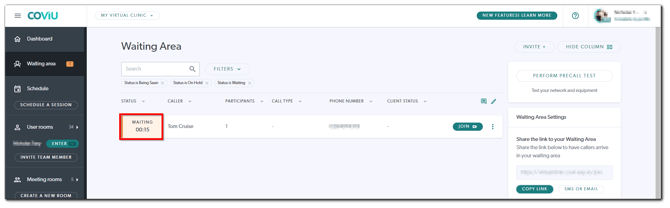
Step 4: Users receive SMS, desktop and/or email notifications upon client or patient entry
The users in your account who have set up notifications will receive them once a client or patient enters the Waiting Area. This ensures that incoming clients or patients are attended to in a timely manner.
Note:
- Click here if you are looking to customise your Waiting Area alerts.
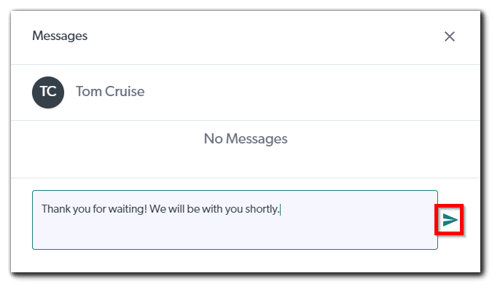
Step 5: Send notifications to clients or patients who are waiting
After clicking the 3 dots button to the right of a client or patient you want to send a notification to, click Notify.

Then, type the notification in the text box and press the send button. For example:
- "We are running 5 minutes late."
- "Please have your card details ready."
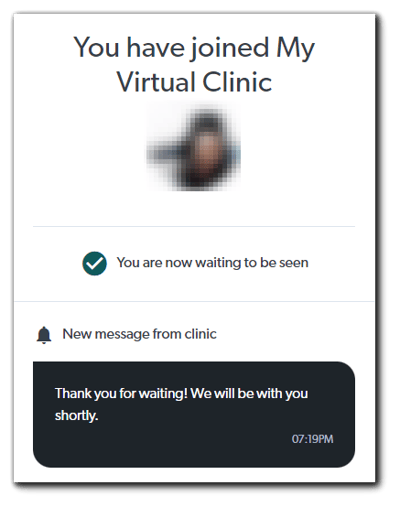
Notifications will be displayed on the client's or patient's screen.
Note:
- Click here if you are looking to set up automated notifications for your Waiting Area.
Step 6: Reception picks up the client or patient for triage, payment, intake forms, etc.
Reception can pick up the client or patient by clicking Join in the Waiting Area. The client or patient will automatically be marked as Being Seen when they are speaking with reception.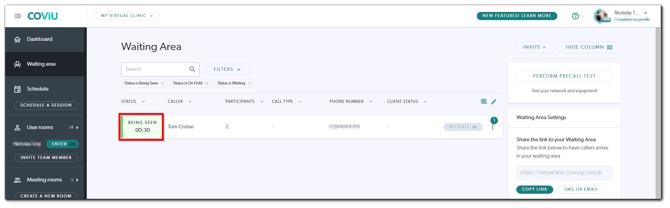
Step 7: Reception allows the client or patient to return to the Waiting Area
Once they have finished with the triage, payment, intake forms, etc., they can place the caller back in the Waiting Area.
While on the call, follow the steps below to place a client or patient back in the Waiting Area queue to be picked up by the clinician or practitioner:
- Click the red Hang Up button.

- Click Leave call.

Tip:
- Once a client or patient has been placed back in the Waiting Area queue, they will be marked as On Hold until they are rejoined by a Coviu user.

- If you click End call, this will fully terminate the connection with all active call participants and may require them to rejoin the Waiting Area queue.
Step 8: The clinician or practitioner joins the call when ready
After the client or patient has been seen by reception, the clinician or practitioner will be notified that they are ready for the consultation. The clinician or practitioner can then join the client or patient from the Waiting Area by also clicking Join.
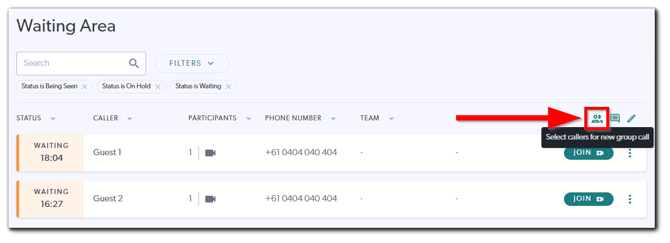
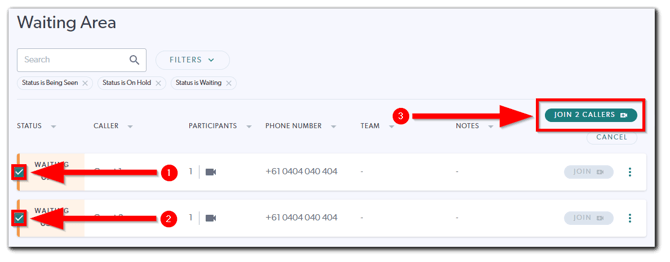
Step 9: The clinician or practitioner starts a group call with multiple clients or patients
Note: Group calls are only available to our users who are on our Premium or Enterprise plan as it requires the Group Rooms workflow.
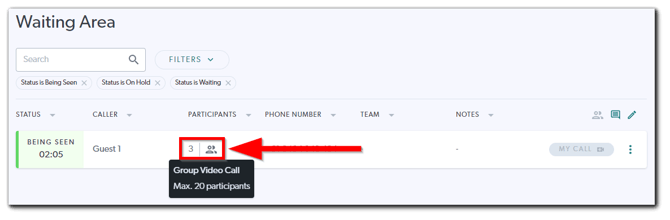
The clinician or practitioner can start a group call with multiple clients or patients in the Waiting Area by clicking the Group Call icon on the top right side of the Waiting Area queue, checking the checkboxes to the left of the client or patient names whom they wish to start a group call with and clicking Join # Callers. A group call is handled via the Group Rooms workflow, which allows for up to 20 call participants.
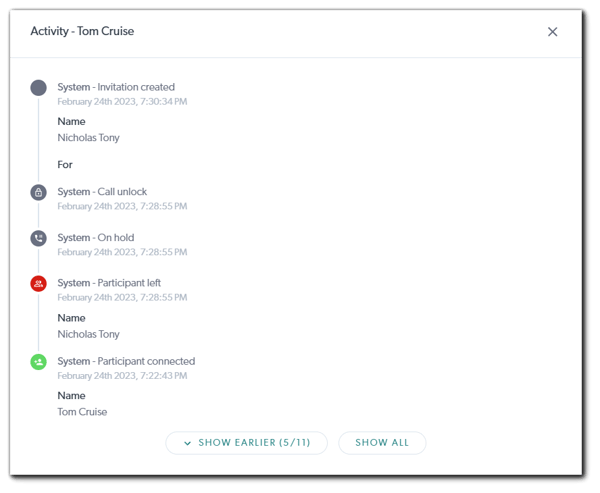
Step 10: The clinician or practitioner can view the call activity log and device information
While on the call, the clinician or practitioner can view the call activity log by going back or switching to the Waiting Area tab, clicking the 3 dots button to the right of your client or patient and clicking Activity.
 Then, a detailed log of the call will be displayed from the latest activity to the oldest activity.
Click here to learn more about how to check your client's or patient's device information.
More support options
You have completed another Coviu help article. You now know how to use the Coviu Waiting Area.
If this is not what you were looking for, explore our knowledge base and search for another article from here.
If you still require any assistance, please do not hesitate to get in touch with our friendly Customer Success team using any of the contact methods available here.