Last Updated: April 2023
Note:
- The Waiting Area feature is available to customers who are on these plans only:
- Standard (also the Trial plan)
- Premium
- Enterprise
- Not sure what plan you are on? Click here to find out.
- If you are on a custom Enterprise plan, you can click here to find out how to get this feature set up.
- The Waiting Area feature is different from our Waiting Room. Click here to learn the difference.
- To configure the Waiting Area, you must be the account Owner or Administrator.
On this page:
- Where do I find the Waiting Area configuration menu?
- What are the configuration options?
- More support options
Where do I find the Waiting Area configuration menu?
- Log in to your Coviu account as you normally would.
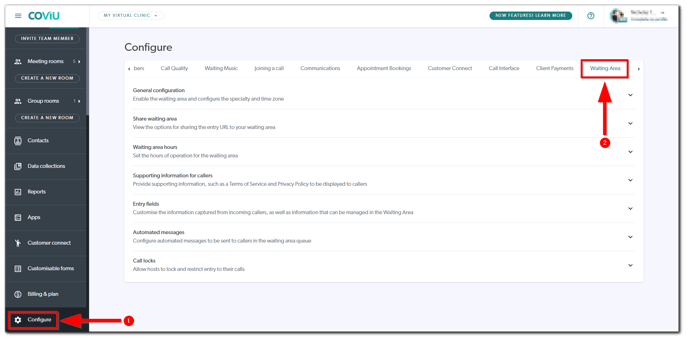
- Scroll down on the left side menu of the Dashboard and click Configure (if you can't see the Configure button, then you are not the account Administrator).
- Click the arrow button to the right of the tabs to find the Waiting Area tab. Click Waiting Area.
- A list of all your configuration options will be shown.
Tip:
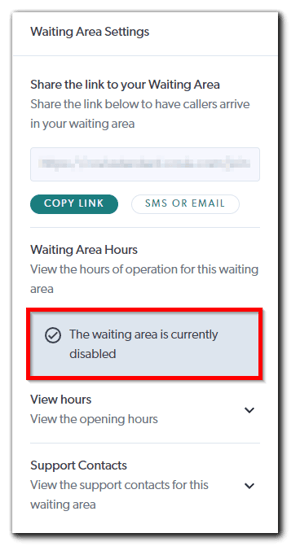
- Your Waiting Area is automatically made accessible when your account is created. You can choose to disable it by toggling the Enable Waiting Area button to the grey or off position under General configuration. Disabling your Waiting Area is useful for closing the Waiting Area on an ad-hoc basis. When the Waiting Area is disabled, you will see the "The waiting area is currently disabled" message under Waiting Area Hours.
- Ensure to click Save to keep any changes that you have made.
What are the configuration options?
Follow these steps to configure the necessary items:
- General configuration:
- Waiting Area Consultation Name: This is the name used to represent your Waiting Area consultations.
- Speciality for Waiting Area: List the specialities that will serve your Waiting Area.
- Enable Confirm Call Entry: Displays a confirmation message with a list of participants before joining a call.
- Display Current Queue Position: Displays to clients or patients in the waiting state their current position in the queue based on their wait time.
- Enable Guest Notification Messages: This allows clients or patients to send notification messages from the Waiting Room to Waiting Area users.
- Time zone: Set the time zone your clinic operates from. (Recommended)
- Waiting Area Disabled Message: This message is shown to clients or patients when your Waiting Area is disabled.
- Waiting Area Out of Hours Message: This message is shown to clients or patients when your Waiting Area is out of hours. (Recommended)
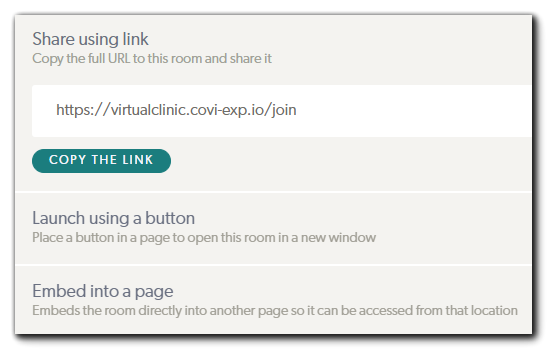
- Share waiting area: Share your Waiting Area link with your clients or patients so they can enter your Waiting Area. You can:
-
- Share using link: Copy the full URL to your Waiting Area and share it with your clients and patients.
- Launch using a button: This means clients or patients can simply click a button on your website and a new page for the video call will automatically open up in a new window. Click here to learn more.
- Embed into a page: This will directly open the video call interface without leaving your website.
-
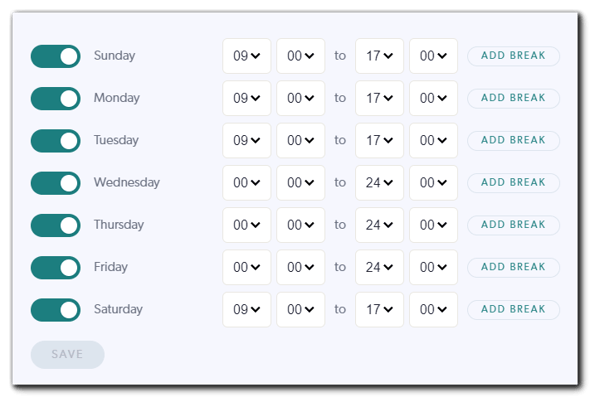
- Waiting area hours: Set the hours of operation for the Waiting Area, including breaks.
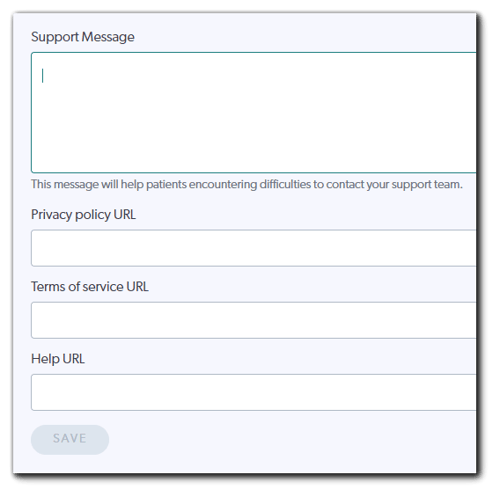
- Supporting information for callers: Create and edit a message for clients or patients that is shown to them when they are waiting to be seen. This message should tell clients or patients how to contact your support team if you have one. You can also add clinic-specific links, such as your Privacy Policy, Terms of Service and help page link.
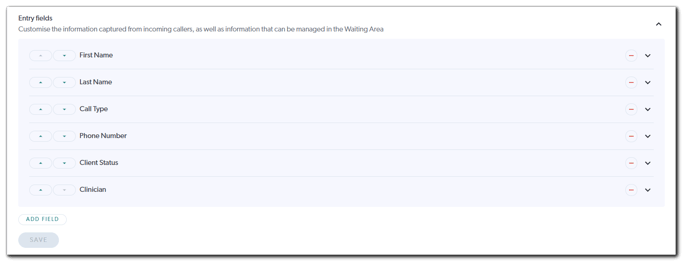
- Entry fields: Add or edit the type of information you want your clients or patients to provide prior to being seen (e.g. their phone number or Medicare number). You can make these entry fields as required if the information is needed before continuing with the call.
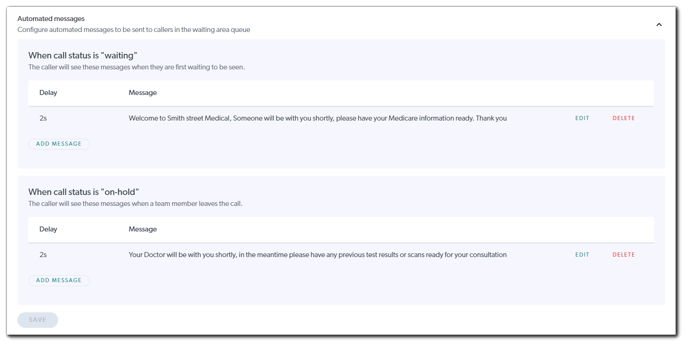
- Automated messages: Create and edit automated messages that are sent to clients or patients in the Waiting Area, such as updates on waiting times or clinic announcements. For example: "Call 000/911 if you have a medical emergency". You can also choose the time at which these automated messages are sent.
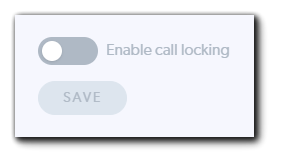
- Call locks: Allows the host to lock and restrict entry to calls joined in the Waiting Area by other Coviu users belonging to the same account.
More support options
You have completed another Coviu help article. You now know how to configure your Waiting Area.
If this is not what you were looking for, explore our knowledge base and search for another article from here.
If you still require any assistance, please do not hesitate to get in touch with our friendly Customer Success team using any of the contact methods available here.